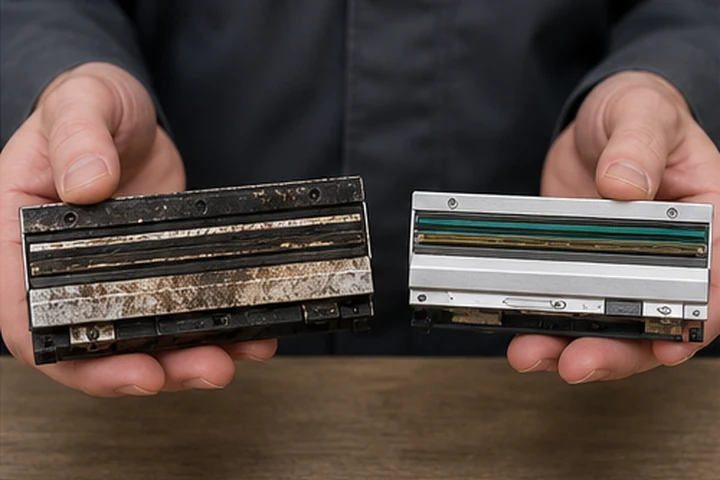
Quick answer
Replace the printhead when a clean, correctly adjusted printer using known-good supplies still shows permanent failed-dot lines, physical damage or barcode quality that cannot meet the application requirement. Do not replace it before checking cleaning, platen condition, pressure, ribbon, media and settings.
Fault isolation checklist
| Test | Interpretation |
|---|---|
| Defect remains at same horizontal position | Printhead dot failure is possible |
| Defect moves after reloading ribbon | Ribbon wrinkle or supply issue |
| Defect disappears after cleaning | Contamination, not permanent failure |
| Density changes across label | Pressure, alignment or platen issue |
| All print is pale | Speed, darkness, mode or compatibility issue |
Diagnostic procedure
- Save current settings and print a configuration label.
- Clean the printhead and platen by the approved method.
- Install a known-good label and ribbon combination.
- Print a full-width diagnostic pattern.
- Mark the location of any repeated void.
- Rotate or reload consumables and repeat.
- Verify a representative barcode.
If a fixed line remains, inspect the cool printhead under good lighting. A scratch or burned element supports replacement.
Before ordering
Confirm printer model, resolution, serial-range compatibility and part number. A 203 dpi and 300 dpi head for the same family may require different firmware or hardware. Follow electrostatic-discharge and alignment procedures during installation or use an authorized technician.
Frequently asked questions
Can I keep printing with one failed dot?
It depends on placement and application. A missing line through barcode bars can create scan failures even when text still looks acceptable.
Should I increase darkness to compensate?
No. A failed element will not return, and extra energy stresses the remaining head and can distort bars.
Replace the platen at the same time?
Inspect it. Replace it when worn, glazed, cut or unable to provide even pressure, following model guidance.